Showing posts with label eyes. Show all posts

FEBRUARY

ELLIS FAAS
Do you know this woman? You should. You really, really should. She is a make-up revolutionary badass who changed the way runway faces were done for all fashion eternity.


An expert in both special effects and beauty artistry, Ellis Faas created a make-up line designed to mimic the skin. Every colour in the range is a colour that naturally occurs in the body, aside from the metallic shadows and the neon lips (how cool would naturally neon lips be though?). Boundary pushing is the key theme, friends.


ELLIS FAAS IMAGE DECEMBER 2016


Think perfect, almost translucent, glowing skin as the base, with high couture, creative expression everywhere and anywhere. Eye colours as lip colours, and cheek tints, concealer as highlight and contour, literally  no rules and every rule completely broken. Think of the woman who was one of the first to use gold leaf on runway models, one of the muses of the great Karl, and an all-round badass who does beauty her way. Uncompromising, raw, beautiful.

My pick? Eye Lights and the Skin Veil foundation. 

Eye Lights re-create the effect of foiling on the lid, giving a metallic, iridescent finish to any look. Absolutely stunning on every skin tone, coming in green, silver, bronze-red, purple, silver-green – all of your goddess/ethereal dreams brought to life.

Now the Skin Veil foundation is exquisite; aside from her setting powders, every piece of make-up created by Ellis Faas is in liquid form, as she believes this is closest to us humans, being 70% water based. The foundation is liquid-crème, full coverage, and extremely hydrating. It leaves the skin with a natural glow, so it appears you’ve been running through a flowery meadow with fairies and woodland creatures. It’s lightweight but enough to cover up any scarring or discolouration in the skin, and it’s been one of my favourites all the yearlong. The mineral ingredients allow the foundation to become one, seamlessly, with the skin, and because it layers quickly and evenly it’s super ridiculously easy to build up your coverage. 
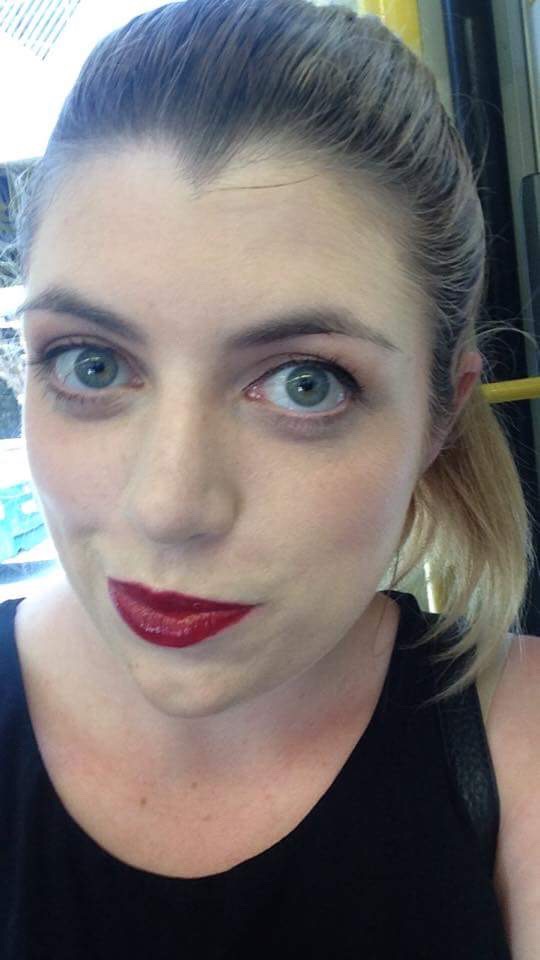


My top picks from the line-up: Skin Veil foundation S101, Hot Lips in L402 (the amount of compliments I get wearing this colour is insane and makes me feel like a Kardashian) and Eye Lights in E302, green-gold that makes it seem as though you have the gilded eyes of an ancient statue. Ah-mazing!


To the left (to the left) is Ellis L402 on yours truly headed to a soiree in March. Lip didn't budge the whole night through, even with double shots of Tequila and lemon. Somehow I think Ellis would approve....


Tweet tweet x

I HAD AN ALLERGIC REACTION AND IT SUCKED

Pretty self explanatory title, right?

Here's what happened - Napoleon Perdis make-up artists came into my workplace and offered all of the staff make overs. I'm serious! I thought they were joking too, I waited for the catch but... there wasn't one! I was SO excited, you have no idea, I've been desperate for a lovely make-up session, and I was hoping to learn, finally, how to contour like a boss.

So I ran from work when I clocked off, hopped up into the chair, and was practically bouncing at the thought of having my make-up done professionally. I'm a major nerd, so I was SO ready to learn some new tips and tricks. One of my favourite make-up artists (who has done my make-up for a few events) was trained by Napoleon Perdis, so I've always had respect for the brand and the training.

The lovely girls helped me take off my work make-up, and used a cleansing oil all over my face which was actually quite scary - evidently, ONE make-up wipe doesn't remove my whole face. NOT EVEN CLOSE. So I'm going to be looking into some new cleansing methods, folks.

Then my lovely make-up artist applied a primer and we got to chatting. She applied my mascara first, as Napoleon believes it not only gives the formula time to dry, but it means you definitely get time for a second coat. Now I like to do my mascara next-to-last, simply because I do it whilst my foundation sets, before I use a setting powder. But I thought hey, ok, let's see how this method goes.

Now my eyes are NOTORIOUS for FLIPPING THE FREAK OUT the minute ANYONE but me tries to use ANY sort of eye product on them. You can imagine the struggle for Mumma Sparrow back when I did dancing, and eyeliner was a mandatory part of costume. Essentially my eyes turn into Niagara Falls and water all over the place, meaning you have to work super quick to get liner/mascara/falsies on before whatever shadow work is messed up. So when my eyes DID begin to water, on cue, I didn't think much of it.

My lovely make up artist talked me through the products she was using, explaining their benefits and qualities. Were my eyes stinging a tiny bit? Yeah, maybe, but I put that down to them settling from the whole, someone-other-than-me-doing-make-up-thing. Then we got to the good bit, the contouring! I realised that my main problem with contouring is I do stripes rather than swipes, if that makes sense? Rather than buffing and creating ROUND shapes on my face, I do rather sharp, 80's-style diagonal lines, and that's not a good look folks, not at all.

She then used an eyeshadow as a liner (a technique I love myself) to create a softer, natural look, and again, eyes watering, unhappy with me, but again, I ignored it. She applied another coat of mascara. Then she set my look, and I ended up buying a mini-kit with the contour trio and primer (because my Nude Airbrush Mineral primer had run out that very day), and went back to work to show my girlfriends.

The minute I walked in everyone asked if I'd been crying, and if I was all right. And, yeah, my eyes were watering and a bit stingy, but I thought they were still just settling. As I was chatting to a couple of the girls, that stinging turned into a real irritation, they hadn't stopped watering, and I was starting to feel quite hot. I cracked and used a Johnsons' make-up wipe to start taking off my eye make-up, figuring once it was off I'd just fix my face with my own Australis powder and be off to dinner.

I WAS WRONG.


My eyes went into a full-blown allergic reaction, and I had to detour from dinner and instead go to a chemist, who was very lovely but very concerned. She recommended I wash my eyes out thoroughly and use eye drops to calm the irritation, and keep taking Telfast (which I'd been taking already for a cold/hayfever situation). The eye drops worked pretty quickly, considering, and even though they still hurt like hell, my eyes stopped watering and started to clear slightly.


I pretty much went home and went straight to bed, hoping by morning I'd be back to normal.
Welp. I was, and I wasn't.

My eyes were A LOT better when I woke up, but they were a bit gummy, very puffy, and still quite sore. Also, that cold/hayfever thing? Yeah, that had reared its ugly head overnight and left me with NO VOICE. So unfortunately I had to call in sick to work, but I'm glad I gave myself time to recover properly.

When I returned to work the following day, my colleagues, who had seen me after the session, said I did look a lot better, but my eyes were still quite puffy.

I have NEVER in my life had an allergic reaction like that to a mascara or eyeliner. EVER. I couldn't believe it, I was so shocked, and it was honestly a little frightening. I haven't been back to Napoleon Perdis yet to tell them about my reaction, simply because I haven't had time, but I will, just in case it helps them with future clients. I'm not mad at anyone or upset with the brand, if even I didn't know I was allergic to something, how could they? I've been going through the ingredients of the NP mascara versus those of my favourite mascaras, and so far I think it might be either the rice bran extract or the bamboo leaf extract that set me off. Apparently in this case, natural ingredients weren't the right choice!

The lesson here is:
If a product (especially an eye product) begins to sting, irritate, or make your eyes water (more than normal), TELL YOUR ARTIST IMMEDIATELY. Who knows, if I'd mentioned it earlier, she could've switched mascaras, or at least taken it off, which may have lessened the severity of my reaction. I know I'm very lucky it wasn't any worse, especially considering how sensitive the eye area is. I also think I was just too excited to be thinking clearly!

If you want to see a photo of how my reaction played out, visit beautybyasparrow on Instagram, or look for the tag - #beautybyasparrow. (I thought I'd leave it there rather than repeating it and making you all see the redness and horror).

Until next time my little birds,
check your make up ingredients!

Tweet tweet xx


That's My Face

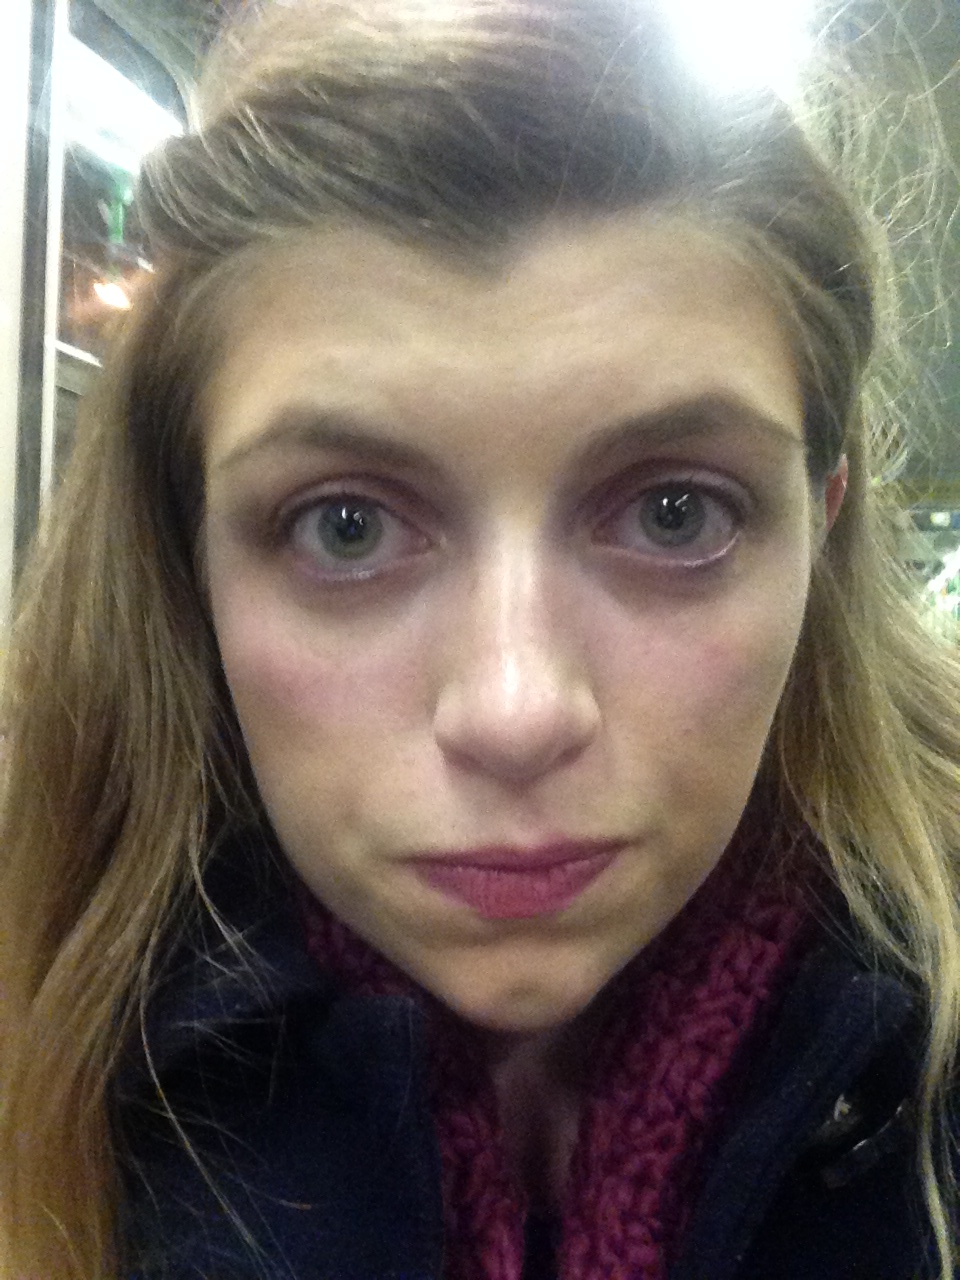
The face in question


So last night was a big night, my little birds. I'd been invited to not one, not two. but THREE different 21st parties in three different suburbs. Unfortunately I could only make it to two, but still - two twenty-firsts in one night is pretty intensive! That's twice the hugs, kisses, food, drinks, singing and dancing, and twice the amount of meeting a whole bunch of new people and hoping they'll like you and that you look ok and that your dress looks nice and not like you're a Christmas Ham shoved into a sock...

Christmas hams aside, I needed to make sure my face was looking a-ok, because remember - two twenty firsts ALSO means double the photos!

Here's how I achieved the polished look above; I wanted something fairly matte, with a dramatic eye, and a pink, vintage feel to it.


(1) Alll About That Base
I began with my Face of Australia matte eye primer. Whilst 'matte' may sound like it'll dull down shimmer shadows, it doesn't at all! If anything my metallic and glitter shadows pop that bit more with this as the base. I apply it all over the lid, and under the brow bone, with my ring finger. I then smoothed on my Cetaphil daily moisturiser SPF 50+, because it's my must have, daily moisturiser, and I always wear it under my make-up. I then topped it off with my Nude by Nature Airbrush mineral primer


(2) The Eyes
I like to use a neutral, matte shade under any eye look, so I powdered my whole lid, particularly the inner corners, with 'Heaven' from the Too Faced naturals palette (top, pale shade). I then followed using the same blending brush, with Chi Chi's Bases palette, using the peach shade (third colour from left) over the main part of my lid. I then used a light pink, and layered 'Silk Teddy' (pink shade) from the Too Faced palette over this. I switched back to the Chi Chi shadows, using a darker pink from about the middle of my lid to the outer corner. I then went back to the Too Face palette, and used 'Push Up' (beside Silk Teddy) in the outer corners. Then I created a cut crease using the shade 'Chocolate Martini' (bottom left corner), blending with my ringer finger to soften the shadows together.


My finished eye 'look'
(3) Liner & Brows
For a more vintage, lasting look, I took the Maybelline New York Hyper Glossy liquid liner in 'Blackest Black'. I used a different technique last night for my winged liner, using a diagram I'd found on Pinterest instead of my usual swipe out-to-in, then do the wings and hope they match up. I was pretty happy with the results, but I always find new techniques a bit daunting because I am such a creature of habit!

I then used the amazing Max Made's guide from the Sportsgirl Masterclass to perfect my brows and I was so, so happy with them! #datbrowgametho


(4) Conceal Don't Feel
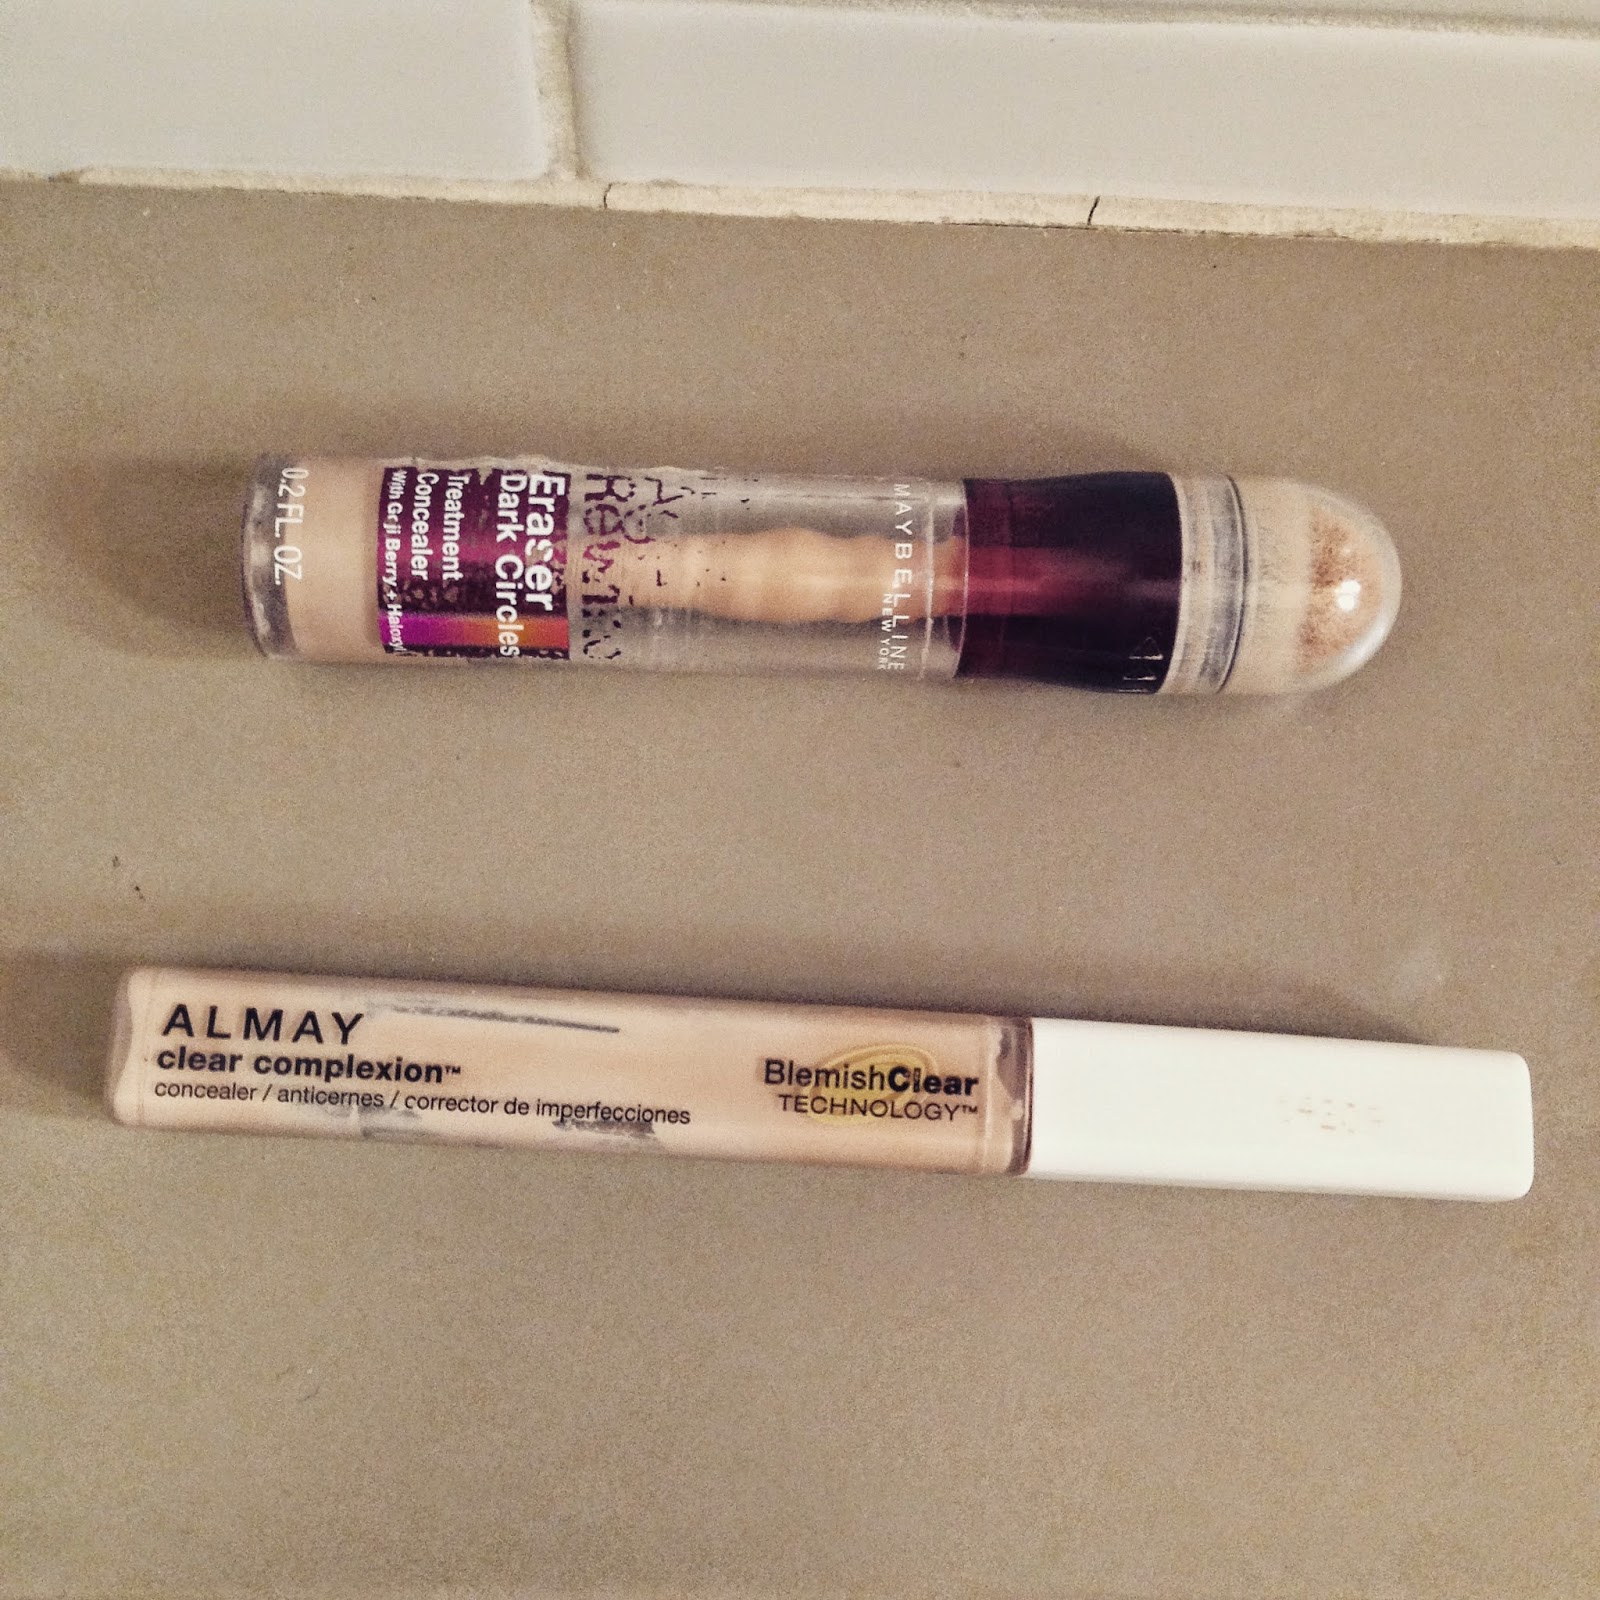
Firstly I used my Maybelline Age Rewind under eye concealer, making two large triangles under my eyes and onto my cheeks with the product. I then followed this with my Almay Blemish Correct concealer in 'Light', a make up bag staple since I was fifteen. At the moment my skin is behaving fairly well, however, I've found quite a bit of redness under the skin. I'm putting this down to possibly having my showers too hot, or stress as it hasn't been an easy few weeks for this little bird!

(5) ***Flawless
Ah, the part I love most! Foundation time! Using my Real Techniques foundation brush, I buffed my Australis Stay Put foundation in Nude all over my face, making sure it blended into my hairline and underneath my jaw as perfectly as possible. I then went over the still visible blemishes with some tiny dots of concealer again.

(6) Trunking... Or 'the thing I really, really, really need to practice a bit more'
Boy howdy. I was so inspired and so, so excited from the Max Made session (seriously I'm probably not going to to shut up about this for like, ever) that I was desperate to try as many of his techniques as I could. I took my Benefit They're Real! mascara and attempted 'trunking' my eyelashes. I ended up with a bit of a clumpy mess in the end and had to blot quite quickly, and quite a lot, to get my lashes looking their usual curly best. I also applied a coat of the Sportsgirl Fibre Lash mascara, just to really thicken up my lashes and make them look as gorgeous as possible.

(6) The Final Countdown
Ah, the bit I love second most! Powdering and contouring! I applied a tiny bit of foundation over the concealer I'd put on before my mascara, and then buffed my face and neck with the Rimmel Stay Matte translucent powder. I LOVE THIS STUFF. SO, SO, SO MUCH.
I then took my bronzing brush (which is quite small and not so fluffy), and my Maybelline Dream Sun bronzer and contoured like a demon; my cheeks, my forehead, my nose, my chin, no where was safe! I then followed with my Chi Chi blush in a medium pink colour along the apples of my cheeks.
I then took my kabuki brush and my Nude by Nature mineral blush/illuminator, and swept it gently across the tops of my cheeks and down my nose.


(7) The Finishing Touch
I spritzed my face with the Australis Finishing Spray, and was ready to leave!

In the car I quickly applied my Nivea lip balm, before carefully, carefully applying my MAC Chatterbox lipstick. Then it was time for a quick selfie before partying the night away! (Chatterbox on the right)


I hope that all made sense my little birds, I'm going to try and do more of these tutorial-style posts in the future

I hope you've all had a beautiful, beautiful weekend,
Until next time.
Tweet tweet xx

Autumn is here! (sort of)

Hello my little birds!

Autumn is here in the city of Melbourne! Well, sort of. In true Melbourne fashion we've had days in the low twenties, high teens, and days almost reaching thirty, followed by thunder storms so vicious trees have been brought down and trains delayed.


At least it's never boring!

In the lead up to autumn and the new A/W season, I've been scouting around and trying to get some inspo for both my wardrobe and beauty looks. Knitwear is BIG this season, and I'm excited for warmer, cosy fabrics. My only criticism is that neutrals, greys and pale, pale pastels seem to be the go this season, and I'd really rather not. Autumn and winter are already such gloomy, dark seasons, I prefer to inject my wardrobe with a hit of colour over a plain basic.

Last year I came across the trick from The Beauty Department last year and I LOVE IT.


Mainly because I hate seeing carefully applied and blended foundation all over the collars of my favourite knits and scarves.
I do have a slight variation, however; at times I'll use a tissue instead of a wash cloth, simply because washing make up out of wash cloths isn't fun either.


I am desperate for some new jeans, and this year a lot of brands are offering not only a great variety, but competitive pricing. the ripped/torn denim look is back in a big way, and whilst I like it on some people I don't know that I'll like it on me - my style is more vintage, retro girly than tough and grunge.

Fashion aside, beauty is looking anything but neutral for the new season.

Once more I need to rave about Sportsgirl beauty. I used some excellent self control and only bought ONE lipstick and ONE nail polish the other week, and I was very impressed haha!
I chose the shade 'Bitten' for the lip, because it's a darker shade than I'd usually go for and it reminds me of red wine, rich stews, and falling leaves.
I cannot for the life of me remember the name of my nail polish, however I've been really into matching my nails and lip shades lately - something about the coordination makes me feel all organised and glamorous!

Here I am wearing both, and I love teaming this rich, plum-wine shade with grey, I feel like it just pops so wonderfully, no matter how dreary it is in the city!


I recently splurged with some generous Myer vouchers from my 21st, and grabbed the Benefit Cosmetics They're Real! gel push-up liner and mascara.

I like the packaging of both the liner and mascara, and they felt very special in my hands. I'd always heard great things about the mascara, and I was lucky enough to see all the "policemen" walking around Myer in the city advertising the liner. Whilst I've loved the mascara and I have found it's plumped up my lashes and made them look very curled and doll-like, the liner I've struggled with.

The tip before use
It should be noted I've never used a gel liner before, so I believe I'm going to need a little more practice before I can really 'get' it. I also found the instructions a little tricky; once you remove the orange stopper the guide said to turn it 'a few times' to get the product up, however I struggled and ended up wasting a tiny bit of product because I turned it that little too much. I've also found one twist per use hasn't worked for me, but maybe that's because I've got such huge googly eyes haha!


This season, aside from sticking to my vintage/retro strengths, I'm going to be experimenting with some different styles and dressing - dare I say it - a bit sexy.
Ripped jeans aside, I can't go past a good skinny jean, especially if it makes the butt look good. I'm also a fan of high waisted jeans - I don't have the figure just yet to pull off tucked-in shirts, but I find the denim and fit of high waisted jeans means they're far, far less lightly to stretch out and slide down.

I've yet to wear this top anywhere but I love it! (Well actually, I DO have somewhere to wear it this Friday, but you'll have to watch this space to find out what that's all about!)
I'm thinking of swapping the black over for the red, but I'm honestly such a fan of the shape that I'd love to have it in every colour of the rainbow!

I've found a pair of boots that I am loving, but saving up for - because Urban Decay launch next week and I think some of my money may coincidentally disappear - that have a LOW heel. Aside from the fact that heels aren't comfortable, I have major calf issues. Yeah, I know. Some people don't like their noses, some don't like their arms, I can't wear heels without my legs cramping up so badly the last time I was 85% I was going to die. Not fun folks, not fun at all.


Autumn/Winter isn't my favourite season, but I'm looking forward to new beauty and fashion trends and adventures, and enjoying everything the beautiful city of Melbourne can offer me this year.

Until next time my little birds,
Tweet tweet xx